|
Rolling Clay to Thickness To make even thickness slabs of clay, place
a slug (ball) of clay between two sheets of backing paper (the waxy
coated paper from stickers) or cling film. Two long strips of thin
cardstock paper is placed in parallel on either side of the clay. Using
a rolling pin roll out the clay starting from the center of the slug and
repeatedly roll back and forth over the clay. Thicker card strips can
be made by taping the strips in stacks. |
|
|
|
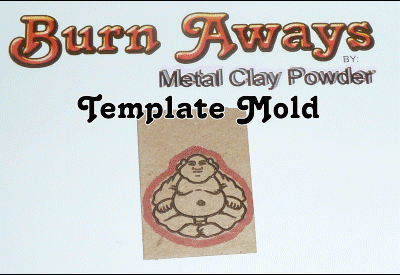 |
Using paper template molds
This
accompanying video at left was created at the time of MCP version 3.2.
The latest version of MCP can simply be made up, rolled into a sheet,
and forcefully pressed or rolled into the template. Another sheet would
be rolled atop the first layer using force and a spacer to achieve
thickness.
For more info on
Burn Aways template molds click here |
|
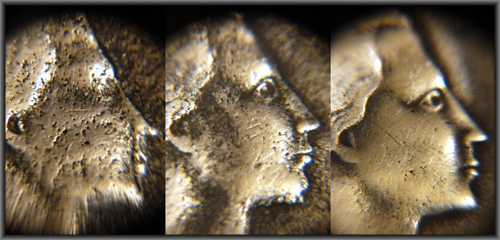
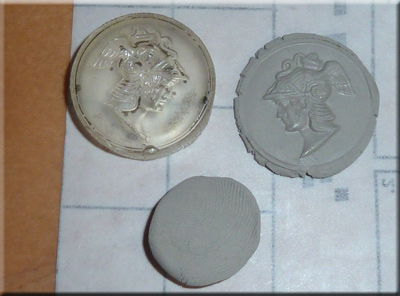
Impressions from Low-Relief Rigid
Molds
Sort of like minting coins, if you have a hard rigid mold or die the
die should have a dusting of release agent or lightly oiled with
petroleum jelly. A slug of clay flattened with no visible folds should
adhere the surface of the die.
Using an arbor press or your bare hands press the die down onto clay
until it flows out from under all the way around the die. You may also
push back the clay that flows from around the die to form a raised rim
and edge.
|
 |
|
|
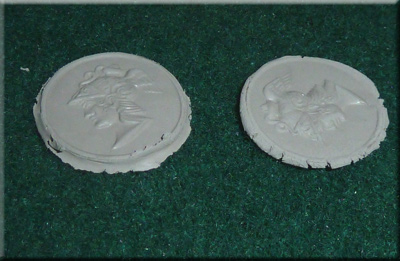
Scratch Impression for Bas-Relief
With a slab rolled flat wet clay, layer on top a piece of cling film
that will cover the top surface with excess. Using a blunt nib
make impressions on the film surface thus leaving impressions on the
clay. You can also print out an image on trace paper and line
trace the image on to the film covering the clay. |
|
|
|
Dry on the Porous Surface
Metal clays should dry evenly
Uneven drying especially broad thin pieces will curl and distort if
allowed to dry on a non-porous surface like a sheet of plastic wrap or
wax paper. Surfaces best to dry clay on is on a mesh surface like
window screen, fish net, cinder brick, hair brush, natural sponge,
coral, or nylon scrub pad. Just make sure the surface is not made of
reactive metals like aluminum and iron. |
 |
|
| Drying MCP Metal Clay Powder's version 3.5 and
subsequent versions do not fully dry 100% as like previous versions.
Your MCP will not dry beyond the ambient humidity thats in the
atmosphere. Silver conducts thermal energies very well and for
that reason the clay will feel much colder to the touch as it is drying.
When water changes from a liquid to vapor, it absorbs heat from the clay
making it cooler, however if you're in a humid environment then the
cooling of the clay can cause condensation on the clay. This equilibrium
temperature means the clay will not become air dried unless you increase
the temperature of the clay.
MCP can be quick dried using a dehydrator, cup warmer or hair dryer.
You should not use an appliance that till exceed the boiling point of
water such as a hot plate, heat gun or microwave oven. |
Pre-BurnOff A technique which may be implemented
to speed up some firing processes is to open-air torch fire the clay for
the main purpose of burning away the organic binder.
In the kiln, the intense infrared rays generally vaporizes any
moisture (that includes the carbohydrates of the binders) before oxygen
can oxidize it away. So pressures may build up inside the clay and cause
it to blister.
A pre burn off will allow the binder to burn at temperature less than
the binder's flash points which can range from 450F to over 900F
If you pre-burn off your binder once the clay begin to glow a dull
red-orange the you must stop. Do not quench or wet the clay... it is
still in greenform and is very fragile. However at this point it can be
placed in the kiln at full ramp for a required firing. |
|